xxsoudesaturnoxx
New Member
but can I "connect" one dummy to many meshes with 1 hierarchy?
but can I "connect" one dummy to many meshes with 1 hierarchy?
yes as leBluem told you you can divide into all the meshes you want as long as you respect the hierarchy as it is now, for example divide the tire into 2, the 2 side shoulders will be a mesh and the tread another, the important thing is that both remain inside the mannequinso I got to connect all the meshes to the dummy?
what do I need to change to make it work on my blender project?View attachment 7330
or in "TextEditor" after you clicked on "New"
View attachment 7331
give it a name and paste code, play button runs the script:
View attachment 7332

Hello everyone,
I started to create my first own mod.
Unfortunately, the front lights and the brake lights do not work.
Unfortunately, when I enter the names of the areas in the lights.ini, nothing lights up. Where could the problem be?
Any Item graphic on Kn5 cars has NAME, you must found it, compare light.ini of other cars. LIGHT OBJECT NAME and his colour RGB (0...255,0...255,0...255) and intensityHello everyone,
I started to create my first own mod.
Unfortunately, the front lights and the brake lights do not work.
Unfortunately, when I enter the names of the areas in the lights.ini, nothing lights up. Where could the problem be?
if you use the keyboard the pre-configured key is usually "L" while if you use a steering wheel you should assign the button you want. however, whether you use keyboard or steering wheel, you can set a key of your choice in the menu, settings, controlsIve been able to get the lights lit up for one im working on but for some reason the key doesnt turn them off. Where is the button mapping tied to the headlights to turn them on and off and flash them. Is it a naming convention in the INI or something that is named at the mesh level?
the issue is i set up the lights and the mapped button doesnt turn the lights on and off so my question is more about setup for the car in lights.ini or elsewhere then in game controlsif you use the keyboard the pre-configured key is usually "L" while if you use a steering wheel you should assign the button you want. however, whether you use keyboard or steering wheel, you can set a key of your choice in the menu, settings, controls
Have you define the light object into file Light.ini?Ive been able to get the lights lit up for one im working on but for some reason the key doesnt turn them off. Where is the button mapping tied to the headlights to turn them on and off and flash them. Is it a naming convention in the INI or something that is named at the mesh level?
you have to make sure that the names you use in the light.ini scripts are correct, are written exactly as it is written and called the object you want to illuminate, and that the script numbering is also correct, otherwise it will not work.the issue is i set up the lights and the mapped button doesnt turn the lights on and off so my question is more about setup for the car in lights.ini or elsewhere then in game controls
") ) I don't manage to find which parameter i should change in the suspensions.ini to have the correct looking.
) I don't manage to find which parameter i should change in the suspensions.ini to have the correct looking.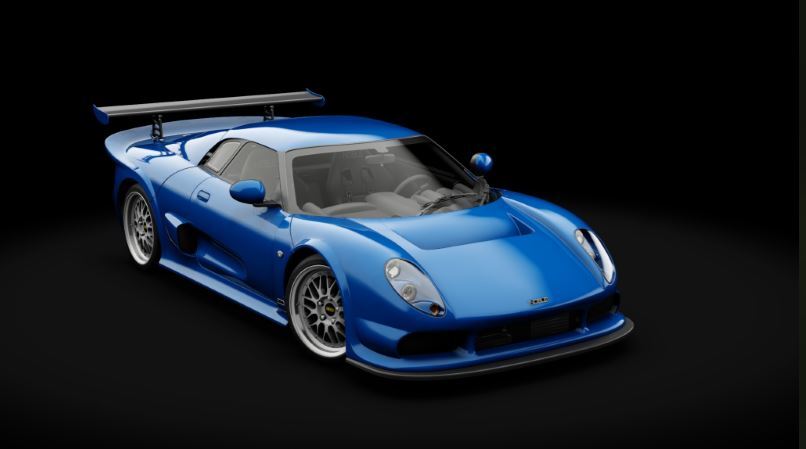
GRAPHICS_OFFSETSHello everybody,
I'm a beginner in 3D nodding and I'm struggling with wheels offset. I'm trying to swap wheels on the excellent Noble M400 mod (for my own use only
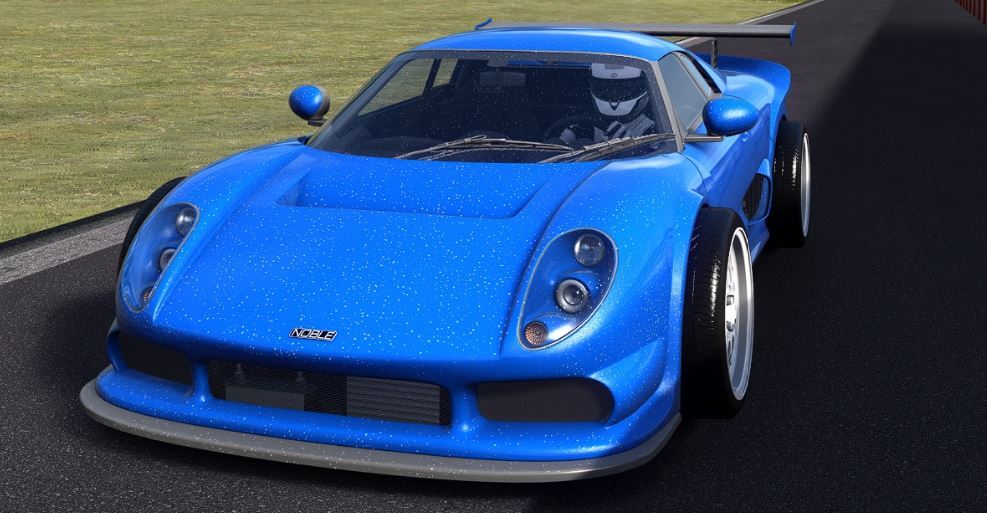
How it Should looks !
How it looks !
Thanks in advance
When you have these problems it is usually for wrong empty scales. The empties must be multiples or submultiples of 1 (1.0 / 0.1 / 0.01 / 0.001) and it is not correct to resize the empty wheels or the wheel with the mesh inside, this will give problems, to resize the empties managed by AC (where you have animations) you have to remove the mesh from inside the empty, resize the empty and put back inside the mesh only afterwards. Usually the correct scale in blender for stroke rate is 0.01I´m having a similar problem. Everything in Blender is as it should be, I followed all the steps and recommendations, the car in the showroom looks ok, but if I apply the values I get a mess, the wheels are totally out of place and the drivers is way backwards.
I also followed all the tips I´ve found, changing the values manually in the showroom, but I can´t find a way to apply those changes to the game model, neither found the way to fix the driver position, and it´s driving me crazy to the point I´m thinking in dismiss the project, because I can´t find any useful information at all anywhere that works. Any indication you can give about this?
EDIT: I can share the Blender scene if that helps.
In order to prevent problems, what I did is the following:When you have these problems it is usually for wrong empty scales. The empties must be multiples or submultiples of 1 (1.0 / 0.1 / 0.01 / 0.001) and it is not correct to resize the empty wheels or the wheel with the mesh inside, this will give problems, to resize the empties managed by AC (where you have animations) you have to remove the mesh from inside the empty, resize the empty and put back inside the mesh only afterwards. Usually the correct scale in blender for stroke rate is 0.01
First you create the hierarchy of the empty already scaled and positioned, then insert the meshes insideIn order to prevent problems, what I did is the following:
-Create an empty with default values (I think it was 2 meters)
-Parent each wheel with each empty (the physical wheel being child of the empty)
So, what I should do is create the empty, scale it to 1 meter (or multiple of 1) and then do the parenting?
